Tag: photoshop
-
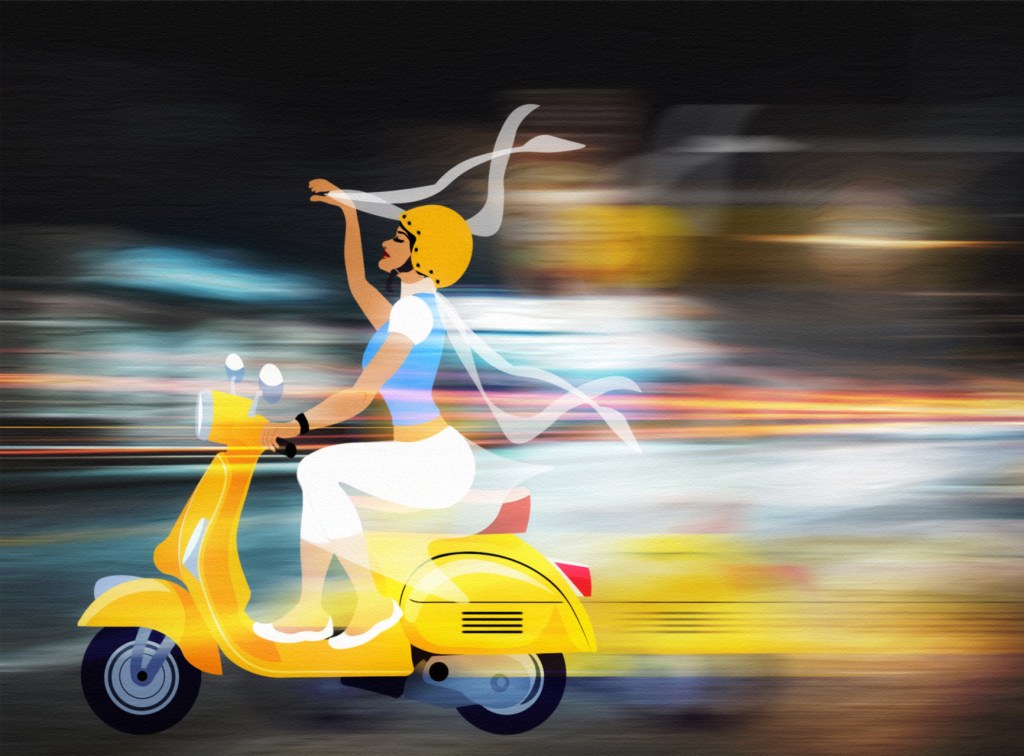
Speed Demon
“In a world addicted to speed, I blur the moments into one unholy smear.” -Ann Voskamp Par for the course, I’m sharing this before it’s really ready. Or before I’m ready. I don’t have a ton to say on the matter, so it will be brief. I mentioned the other day that speed is a…
-

Go on… Do It!
When in doubt, paddle out. So I’ve been going to town with my Photoshop lesson #2, selected at random to learn how to turn a photograph into an illustration. I have to tell you that learning new things brings new life into my previous (somewhat) mundane mood. I watched a YouTube tutorial and literally followed…
-

You Sneaker
“It’s not about the shoes, it’s about what you do in them.” -Michael Jordan So… this is a little sad. I spent an hour or so learning a new technique in Photoshop by reading a tutorial; how to turn an image into a sketch. The reason I did this is because I made a decision…
-
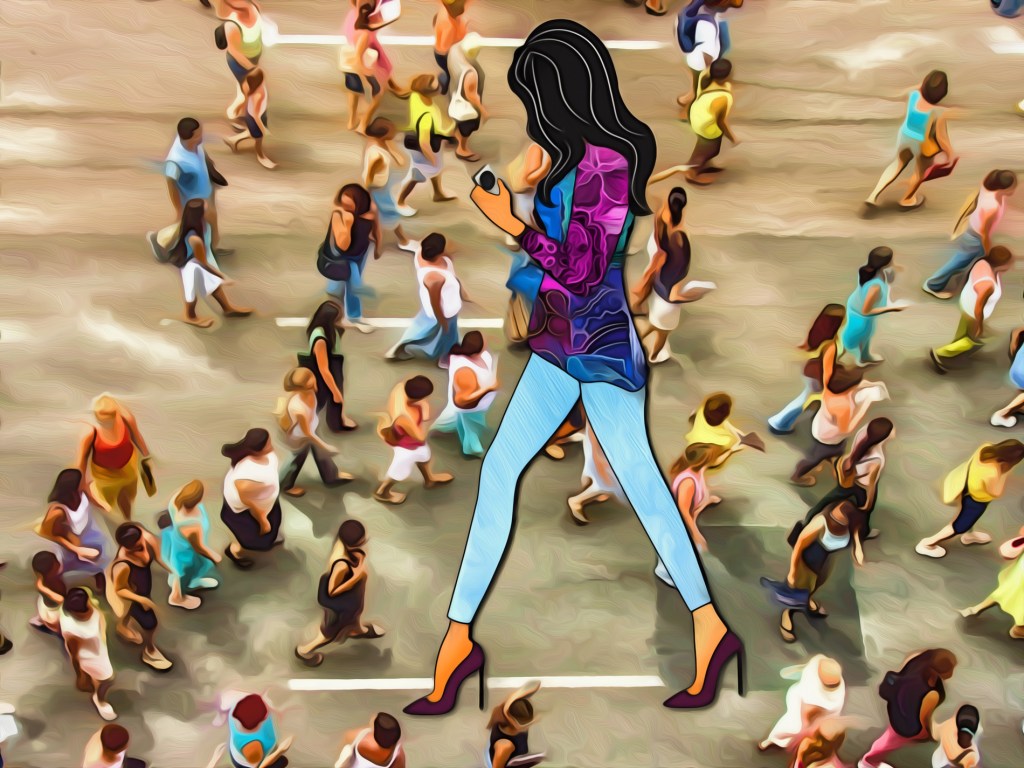
The Visitor
I look down at these tiny people, And I am bewildered. A strange race, these humans. Bickering, name calling, violence. So much anger, too much hate. Not just here… in this city I am visiting, It appears to be worldwide. And in this thing they call Twitter. So evil, the things they say. Too unkind. I…
-

The Rabbit Hole
The title of my post is the most accurate description I could come up with for this “simple” tutorial. Ha! It’s funny how once you know how to do something, you do it mechanically and subconsciously, without really thinking. But, while trying to convey instructions to someone else it’s like sliding down the rabbit hole.…
-
Simplicity
Simplicity boils down to two steps: Identify the essential.Eliminate the rest. LEO BABAUTA Welcome back to my series Life: From A to Z and the word Simplicity for the letter “S.” And just for the record, you have no idea how excited I am that there are only SEVEN letters left! Don’t think for a…
